
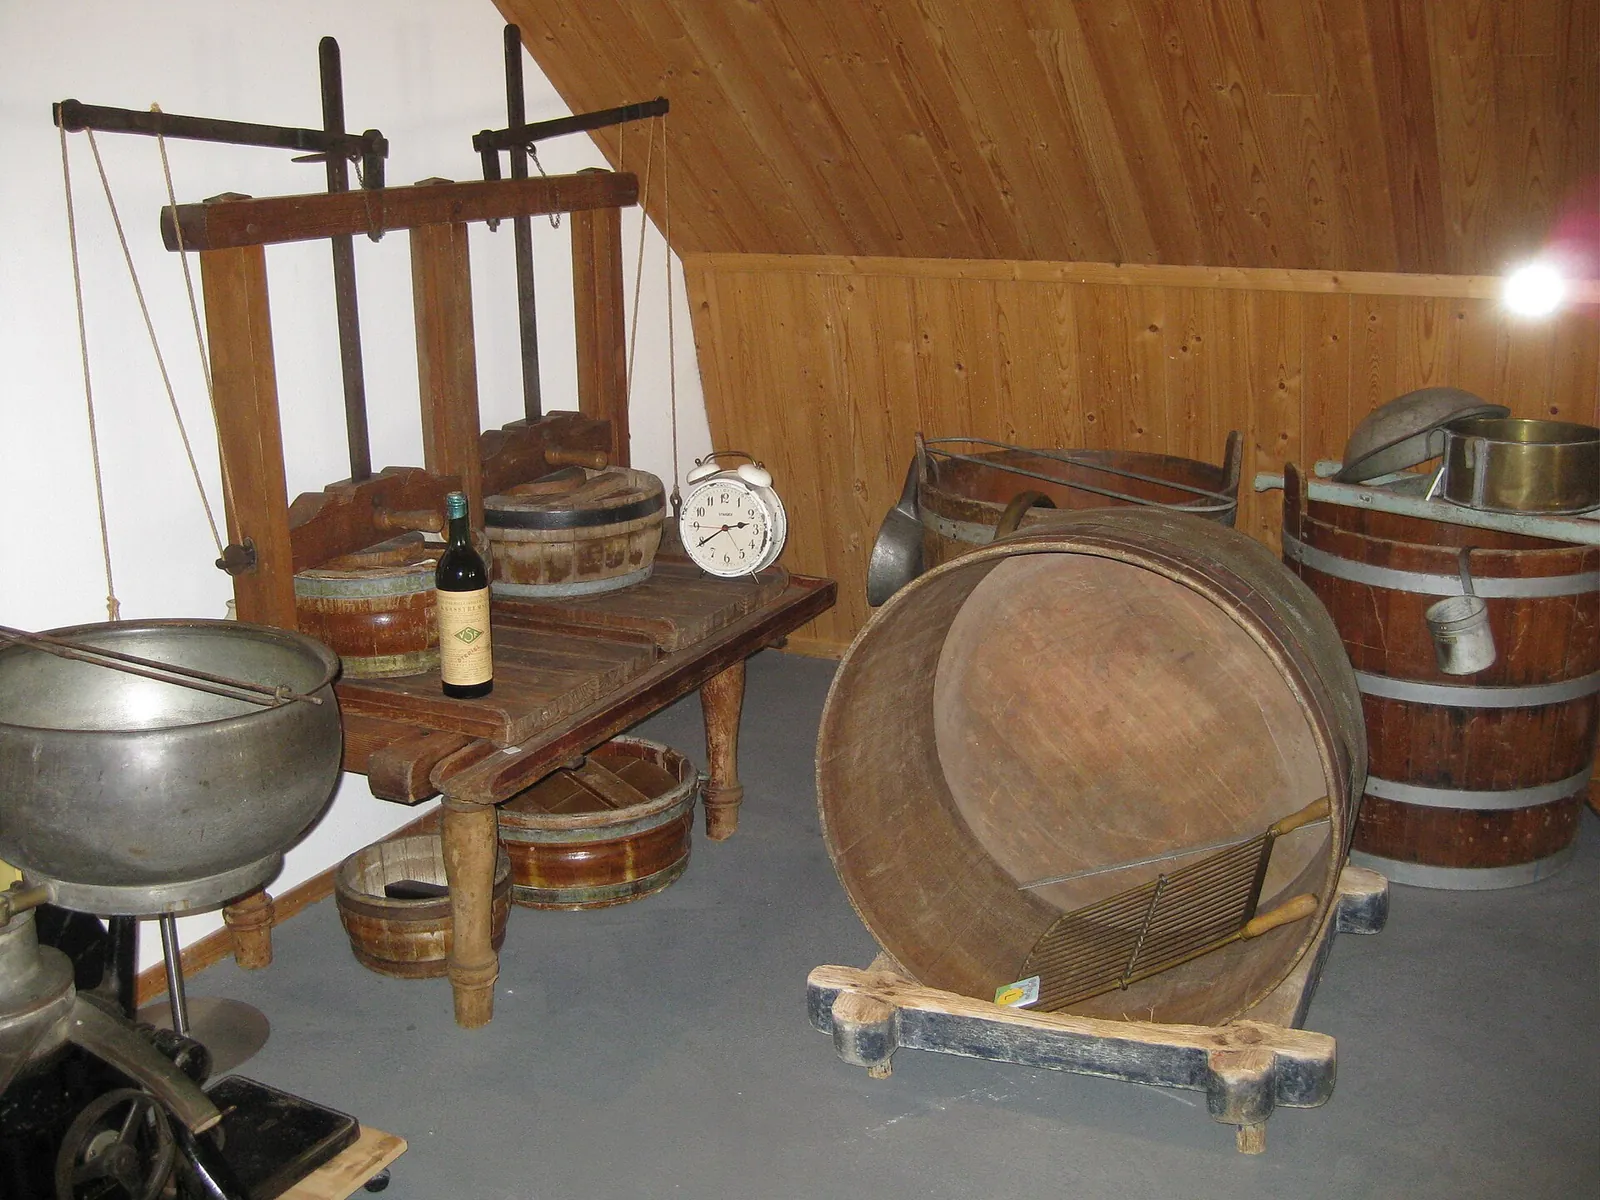
Most kitchens already hold half of that. Molds and a press only matter once you start making firm cheeses.
The reason is simple. Fresh cheeses such as ricotta, paneer and farmer's cheese are heated, set, drained and eaten, so the only tools involved are for heating, measuring temperature and draining. Pressing, shaping and aging come with harder cheeses, and that is when the extra gear earns its place.
Beginner cheesemaking equipment checklist
Beginner cheesemaking equipment fits on one short list, and New Mexico State University Extension's home cheesemaking guide gives a good version of it. The table below follows that list and adds when each item matters.
| Item | What it does | Needed for |
|---|---|---|
| Large pot or double boiler | Heats milk gently | Every cheese |
| Thermometer | Tells you when to add culture, rennet or acid | Every cheese |
| Cheesecloth and strainer | Drains the whey from the curd | Every cheese |
| Long knife and long-handled spoon | Cuts and stirs the curd | Rennet-set cheeses |
| Measuring cups and spoons | Measures rennet, culture and salt | Every cheese |
| Molds | Shape the curd | Pressed and shaped cheeses |
| Press | Squeezes out more whey | Firm cheeses |
NMSU's equipment list names a thermometer with a range of 40 to 165°F, a large double boiler of 5-quart capacity, a long-handled spoon, a long-bladed knife, measuring cups and spoons, cheesecloth, a strainer and molds. It also describes a homemade press built from a colander or coffee can.
The pot for cheesemaking
The pot for cheesemaking should hold your milk with room to spare and be easy to clean. A 5-quart double boiler, the size in the NMSU list, handles a gallon of milk. A double boiler (a pot sitting in a pan of hot water) heats milk gently and makes scorching less likely, which matters because scorched milk tastes it.
Stainless steel is the usual choice as guidance, because it does not react with acidic milk and whey and it is easy to sanitize. If you have only a regular stockpot, set it in a larger pot of water, or heat on low and stir.
A thermometer for cheesemaking
A thermometer for cheesemaking is the one tool you cannot skip, because nearly every recipe is built on temperatures: the point where you add culture, the point where rennet goes in, the point where you stop heating. The NMSU guide asks for a range of 40 to 165°F, which covers fresh cheeses through cooked curds.
Check that it reads well in a deep pot and that the stem reaches the milk without touching the pot bottom. A dial or digital model both work. What matters is that it is clean and that you trust it, so test it in ice water and boiling water once.
Cheesecloth, strainer and knife for draining and cutting
Cheesecloth, a strainer, a knife and a spoon do the physical work of cheesemaking: the cloth lines the strainer so whey runs off and the curd stays, the knife cuts a set curd into pieces, and the spoon stirs and ladles. NMSU lists all of these.
Buy cloth woven tightly enough to hold fine curds. Loose, gauzy grades let ricotta slip through. Cheesecloth is reusable if you rinse it well, then sanitize it. Oregon State University Extension's basics of cheesemaking suggests soaking cloth in 1 teaspoon of bleach in cold water, or boiling it.
A set of measuring spoons matters more than people expect. Rennet is used in tiny amounts, and NMSU notes that one teaspoon of liquid rennet equals one tablet, dissolved in cool distilled or boiled water before it goes into the milk. The rennet guide explains what rennet is and which kind to buy.
Cheese molds and a cheese press
Cheese molds and a cheese press come into play when a cheese has to hold a shape. A mold is a perforated container that lets whey escape while the curd forms a wheel or block. A press adds weight so the curd knits together and loses more whey.
Neither is needed for fresh cheese. When you do reach pressed cheeses, you can improvise: NMSU's guide describes a press made from a colander or a coffee can, and its neufchâtel directions press the cheese until the surface is smooth, which it puts at 2 to 4 hours. Buy a proper mold and press only after you know you will keep making hard cheese. Your first aged cheese is the natural moment.
Cheesemaking equipment that can wait
Cheesemaking equipment that can wait is everything built for aging and precision. That includes a dedicated cheese cave or mini fridge, a pH meter, a larger set of molds, wax and a vacuum sealer. They solve problems you do not have yet. A cheese cave matters once cheese is ripening for weeks.
Specialty ingredients such as cultures sit in the same bucket. Many first cheeses need only milk, an acid or rennet, and salt, and the cheese cultures guide covers when starter culture becomes necessary. Boxed starter kits can be a convenient shortcut, but a pot, a thermometer and cheesecloth already let you make ricotta, paneer or mozzarella.
Cheesemaking equipment mistakes that spoil a batch
The costliest cheesemaking equipment mistake is not buying the wrong gear but cleaning it badly. OSU Extension puts it plainly: cleanliness is the most important factor in safe cheesemaking. It advises washing surfaces in hot soapy water, rinsing with hot water, sanitizing with warm bleach water and air drying. NMSU suggests boiling equipment between uses or soaking it in a bleach solution for 2 minutes.
Bleach has its own trap. OSU warns that any bleach left in containers used for rennet or culture will kill the culture and weaken the rennet, so rinse sanitized tools before they touch either one.
The other early mistake is the milk. Both extension sources say to start with pasteurized milk, and Penn State Extension says all milk should be of excellent quality, with low bacteria and somatic cell counts. NMSU recommends pasteurized whole milk for best results. Home pasteurizing is covered in the pasteurization at home guide. When a batch fails to set, the troubleshooting guide walks through the usual causes.
Questions about cheesemaking equipment
These questions about cheesemaking equipment come up most often from first-time makers.
What cheesemaking equipment is needed to start?
Cheesemaking equipment to start with is a large pot or double boiler, a thermometer, cheesecloth, a strainer, a long knife and spoon, and measuring spoons. That covers ricotta, paneer and other fresh cheeses.
Is a cheese press needed to make cheese?
A cheese press is only needed for firm, pressed cheeses. NMSU describes a homemade press from a colander or coffee can, so you can start without buying one.
Can regular kitchen pots be used for cheesemaking?
Regular kitchen pots work for cheesemaking if they are clean and non-reactive, and stainless steel is the safe choice. A double boiler heats more gently than a pot over direct heat.
Is a cheese cave needed to make cheese at home?
A cheese cave is not needed for fresh cheeses, only for aging. See the cheese caves page before buying anything.
How should cheesemaking equipment be cleaned?
Cleaning cheesemaking equipment means washing with detergent and hot water, then sanitizing by boiling or with a bleach solution, as OSU and NMSU describe. Rinse away bleach before using rennet or culture.
Your cheesemaking equipment shopping list
A cheesemaking equipment shopping list for week one has six lines: pot, thermometer, cheesecloth, strainer, long knife and measuring spoons. Buy pasteurized whole milk and make something simple. Add molds and a press when you are ready for a firm cheese, and a cave only when you are aging.
Sources
- Making Homemade Cheese (Guide E-216), New Mexico State University Extension
- The basics of cheesemaking, Oregon State University Extension
- Introduction to Making Cheese, Penn State Extension