
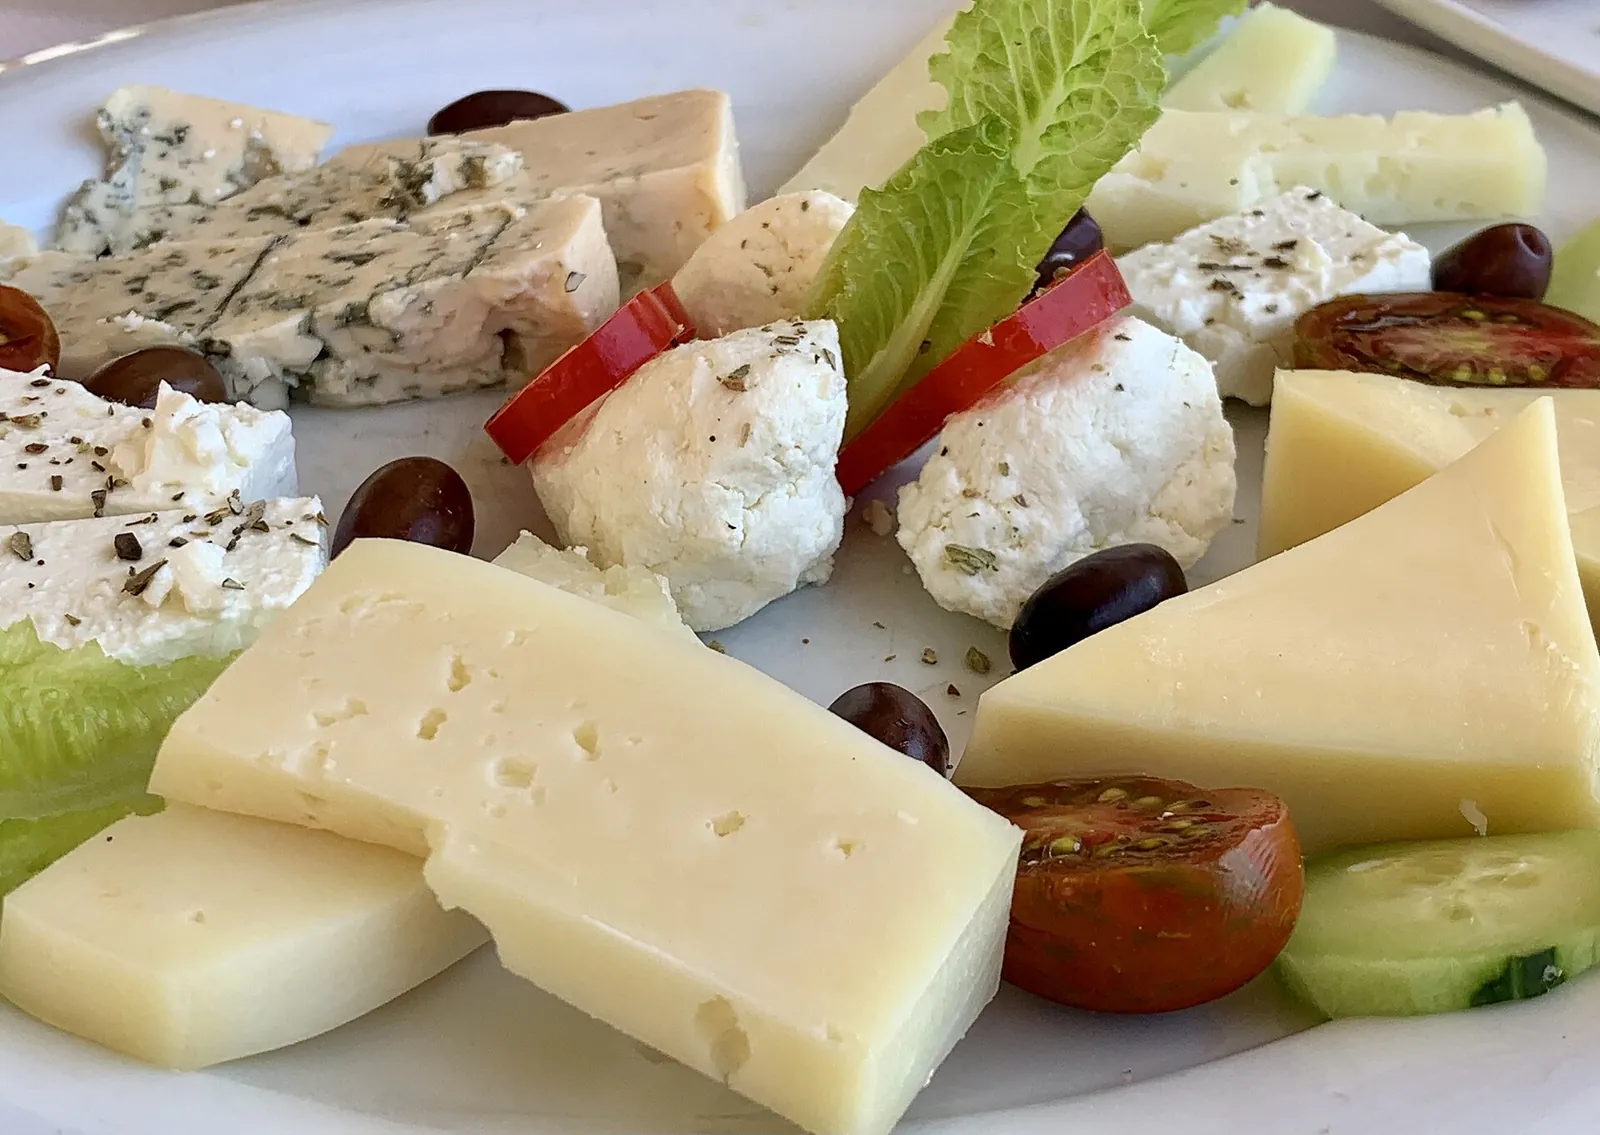
Arrange it well, shoot it in soft window light from the side, and style it only minutes before you take the picture, because cheese looks best fresh and starts to sweat, dry and slump under lights.
Most of this is common photography advice applied to a food that has particular quirks: it is pale, it shines when it sweats, and it changes within minutes. Where the board should be arranged first, see how to arrange a cheese board; this page picks up at the camera.
Plating cheese for photos starts with a good board
Plating cheese for photos starts with variety, because a board of identical beige wedges reads as a flat picture. Pick cheeses that differ in shape and color: a white round, an orange cheddar wedge, a veined blue, a log of goat cheese. Then add color from the accompaniments: red grapes, dried apricots, figs, green herbs.
Cut some of the cheese. A whole wedge looks like a block, while a few slices fanned off a corner, a wedge with a piece missing, or a crumbled edge shows the inside. Pass over the details of quantity here; the cheese per person guide covers how much to buy, and a photo board can be smaller than a party board and look fuller for it.
Lighting for cheese photos
Lighting for cheese photos should be soft and come from the side. Set the board next to a window, out of direct sun, and let the light fall across it from the left or right. Side light makes cheese texture visible: the crumble of a blue, the rough rind of a cheddar, the cut face of a brie.
Direct sun makes hard shadows and shiny patches on soft cheese. If the light is harsh, hang a sheer curtain or a white sheet over the window to soften it. If the shadow side is too dark, hold a white card or a sheet of foam board opposite the window to bounce light back. Overhead room lights tend to turn white cheese yellow, so switch them off and shoot by daylight.
Camera angles for cheese photos
Camera angles for cheese photos depend on what you want to show. There are three that cover most boards:
- Overhead (flat lay): shows the whole layout, spacing and color. It suits a large board.
- 45 degrees: adds depth and shows height, such as stacked crackers or a tall wedge. It is the most natural, like what a guest sees when leaning over the table.
- Close side view: low and tight on one cut cheese, so the interior of a brie or the crystals of an aged Gouda fill the frame.
Take all three. A phone camera's portrait mode blurs the background in a way that can look good at 45 degrees, but turn it off for overhead shots, where everything should be sharp.
Styling cheese for photos
Styling cheese for photos is subtraction as much as addition. Choose one background and one board, and keep props to a few: a cheese knife, a small bowl of honey, a linen napkin, a glass of wine or water at the edge. Anything that competes with the cheese is clutter.
A few tricks help: drizzle honey over one wedge just before shooting so it is still glossy, tuck a sprig of rosemary or thyme in a gap, and put a small stack of crackers on a diagonal. Odd numbers of items look more natural than even ones. Leave a little empty board; a frame packed edge to edge feels busy.
Composition for cheese photos
Composition for cheese photos is easiest with a focal point. Choose one hero cheese, the one with the best color or the cleanest cut, and place it slightly off center, around a third of the way in. Let the other cheeses lead the eye toward it. The mild-to-strong order that suits eating also gives the board a natural line from one end to the other, as the cheese board guide lays out.
Crop in close enough that the cheese fills the frame. Wide shots lose the texture, so step in until a single crumb is sharp.
Food safety when photographing a cheese board
Food safety when photographing a cheese board comes down to time. Cut cheese should not stay at room temperature for more than 2 hours total, or 1 hour above 90°F, according to University of Nebraska-Lincoln Extension. A long shoot near a sunny window counts toward that clock.
If you plan to eat the cheese afterward, keep spare cheese in the fridge and style the board only when the camera is ready. If the shoot runs long, treat the styled board as props. USDA advises refrigerating perishable leftovers within 2 hours, per FSIS. Take cheese out of the fridge about 30 minutes before shooting, as for serving, so it loses its chill and looks soft rather than stiff.
Plating cheese for photos mistakes to avoid
Plating cheese for photos goes wrong in a few predictable ways:
- Styling too early. Cheese sweats, dries at the cut and curls at the edges. Style last.
- Using the flash. Flash flattens the cheese and puts a hard glare on rinds and honey.
- Too much on the board. Cover the whole board and nothing stands out.
- One angle only. Shoot overhead, 45 degrees and close, then choose.
- Cold cheese. Cheese from the fridge looks dull and may bead with moisture as it warms.
Questions about how to plate cheese for photos
These questions about how to plate cheese for photos come up most often.
What is the best light to plate cheese for photos?
The best light to plate cheese for photos is soft daylight from a window, from the side, with no direct sun and no overhead bulbs.
What angle is best for a cheese board photo?
For a cheese board photo, overhead shows the whole layout and 45 degrees adds depth. Use a close side view for the texture of one cut cheese.
How to make cheese look good in photos?
To make cheese look good in photos, cut a few pieces to show the inside, adding one or two colorful items, and shooting soon after styling.
Should cheese be at room temperature for photos?
Cheese at room temperature for photos looks best after about 30 minutes out of the fridge, when it is softer and less dull. Do not leave cut cheese out for more than 2 hours total.
Is a special camera needed to photograph cheese?
A special camera to photograph cheese is not needed. A phone, good window light and a clean board give better results than expensive gear in poor light.
Plating cheese for photos, in short
To plate cheese for photos, prepare the board, find a window with soft light, style at the last minute and shoot from above, at 45 degrees and close up. When the shoot is over, wrap the cheese and put it back in the fridge; the storing cheese guide covers how.
Sources
- Charcuterie Boards and Food Safety, University of Nebraska-Lincoln Extension
- FoodKeeper App, FoodSafety.gov (USDA)
- Leftovers and Food Safety, USDA Food Safety and Inspection Service